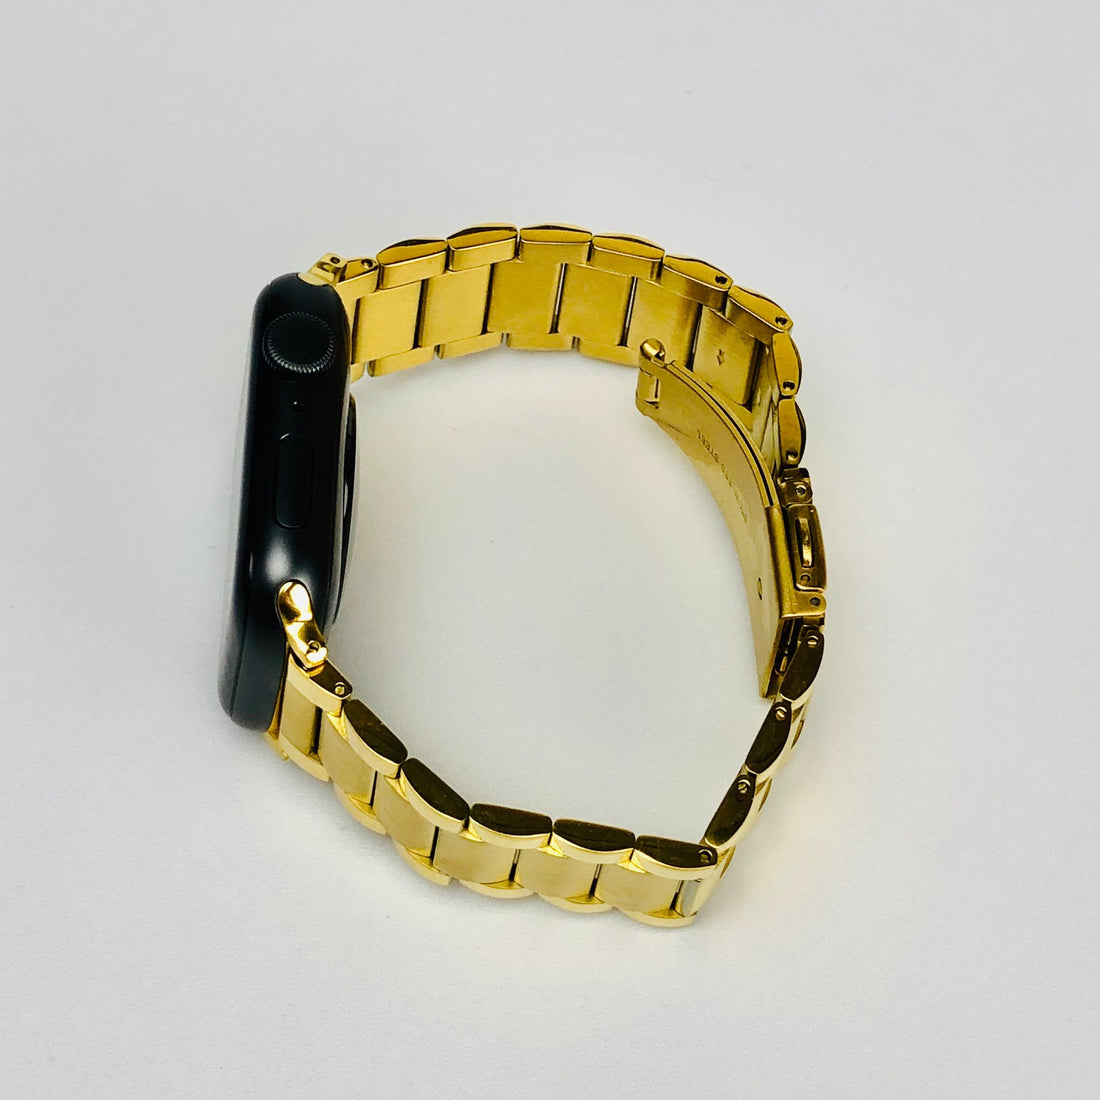
Wondering how to change your Apple Watch band?
Share
Step-by-Step Guide to Changing Your Apple Watch Band
Step 1: Turn Off Your Apple Watch (Optional but Recommended)
While it’s not strictly necessary, it’s a good idea to turn off your Apple Watch before changing the band. This helps prevent any accidental taps or interactions with the screen while you’re handling the watch.
To turn off your Apple Watch:
- Press and hold the side button until the power off slider appears.
- Slide the Power Off button to the right.
Step 2: Place Your Apple Watch on a Soft Surface
Before you begin, place your Apple Watch face down on a soft, clean surface like a microfiber cloth. This will protect the screen from scratches while you’re working on changing the band.
Step 3: Locate the Band Release Buttons
On the back of your Apple Watch, you’ll find two small band release buttons—one at the top and one at the bottom of the watch. These buttons are located near where the band connects to the watch case.
Step 4: Remove the Old Band
- Press and hold one of the band release buttons.
- While holding the button, slide the band sideways out of the slot. The band should easily slide out. If it feels stuck, try pressing the release button more firmly.
- Repeat the process for the other side of the band.
Step 5: Attach the New Band
- Take your new Apple Watch band and ensure it is oriented correctly. Most bands are designed to fit in one direction, so check for any markings or indicators.
- Slide one end of the new band into the slot until you hear a click, indicating that it’s securely in place.
- Repeat the process with the other side of the band.
Step 6: Check the Fit
Once both sides of the new band are attached, give them a gentle tug to make sure they are securely fastened. The band should not slide out unless you press the release buttons again.
Tips for Changing Your Apple Watch Band
-
Choose the Right Size: Apple Watch bands come in different sizes, so make sure you’re using a band that fits your specific Apple Watch model (38mm, 40mm, 41mm, 42mm, 44mm, 45mm, or 49mm).
-
Clean Your Watch: While the band is off, take a moment to clean the back of your Apple Watch and the band slots. Use a soft, lint-free cloth to remove any dirt or debris.
-
Store Extra Bands Safely: If you have multiple bands, store them in a dry, cool placeto prevent damage. Consider using a watch band storage case to keep them organized.
Where to Find Stylish Apple Watch Bands
Now that you know how to change your Apple Watch band, why not explore some new styles? At Burnana Concept, we offer a wide range of Apple Watch bands, including leather, metal, nylon, and silicone options. Whether you’re looking for something sleek and professional or sporty and durable, we have the perfect band to match your style.
Visit Burnana Concept to shop our collection and give your Apple Watch a fresh new look.
Final Thoughts
Changing your Apple Watch band is a quick and easy way to customize your watch to fit any occasion. By following these simple steps, you can swap out your band in just minutes. Whether you’re heading to the gym, the office, or a night out, having the right band can make all the difference.
Ready to upgrade your Apple Watch band? Explore our premium collection at Burnana Concept today!
